
Apple’s latest macOS Sequoia promises new features, improved performance, and better security. However, before you rush to hit the “Update” button, there are crucial steps you should take to ensure the upgrade process goes smoothly and your data stays safe. macOS updates can sometimes come with unforeseen issues, such as app incompatibility, data loss, or installation problems, so preparation is key.
In this guide, we will walk you through six essential things to do before updating to macOS Sequoia to avoid any unwanted surprises and make the most out of the new OS.
1. Check System Compatibility
Before you even begin downloading the macOS Sequoia update, the first step is to ensure your Mac is compatible with the new OS. Each new macOS release has its hardware requirements, and running an update on an incompatible system can lead to performance issues or failed installations.
How to Check Compatibility:
- Visit Apple’s Official Compatibility List: Apple publishes an official list of Mac models that can run the latest version of macOS. Head over to Apple’s website to check whether your Mac is supported.
- Check Your Mac’s Specs: On your Mac, go to the Apple menu > About This Mac. This will display the model and year of your Mac, as well as your hardware specifications, including the processor and memory. Compare these specs to the requirements for macOS Sequoia.

Common Compatibility Issues:
- Older Mac Models: Macs older than 5-7 years may not be eligible for the latest macOS update. This includes machines that may not have enough RAM or processing power to handle the new OS efficiently.
- Software Dependencies: Some older software and drivers may not work on macOS Sequoia. Check with developers of the apps you rely on for updates or patches that will support Sequoia.
What to Do if Your Mac Isn’t Compatible:
If your Mac doesn’t meet the system requirements for macOS Sequoia, it may be time to consider hardware upgrades or purchasing a newer device. Continuing to use an older macOS might work for a while, but you will miss out on new security features and updates, which could compromise your system in the long term.

2. Backup Your Data before updating to macOS Sequoia
One of the most crucial steps before any macOS update is creating a full backup of your system. While most updates proceed without data loss, there’s always a risk of things going wrong, such as file corruption or incomplete installations. A reliable backup ensures you can quickly restore your system in case the update doesn’t go as planned.
How to Back Up Your Mac:
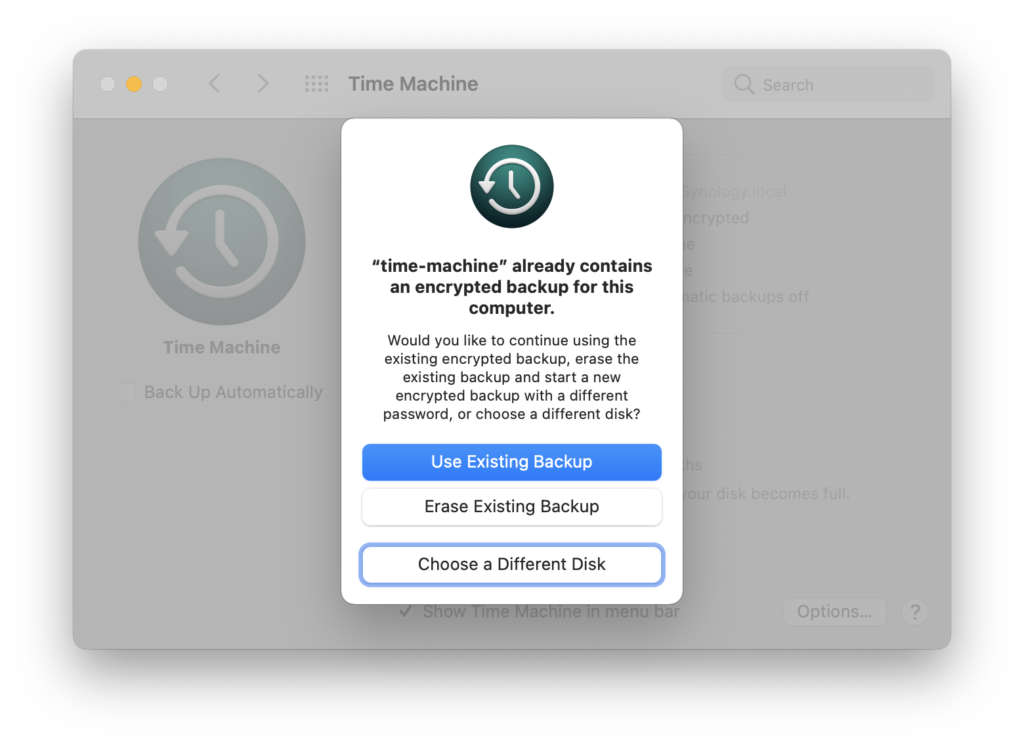
- Use Time Machine: Apple’s built-in backup tool, Time Machine, is a simple and effective way to back up your data. To use it, connect an external hard drive to your Mac, then go to System Preferences > Time Machine > Select Backup Disk. Once your backup disk is selected, Time Machine will automatically back up your entire system, including your applications, files, and system settings.
- Use Cloud Backup: If you don’t want to rely solely on an external hard drive, consider using a cloud backup service like iCloud, Google Drive, or Dropbox. While Time Machine backs up everything, cloud services can ensure that critical files are safely stored in a secondary location.
Best Practices for Backup:
- Create Multiple Backups: Don’t rely on just one backup method. Use both Time Machine and a cloud-based service to create redundancy, ensuring you have more than one source to recover your data from.
- Test Your Backups: Once the backup is complete, ensure that it is functional by restoring a few files from the backup. This will give you confidence that you can fully restore your system if needed.
3. Free Up Storage Space
macOS updates require a significant amount of free storage space to download and install. If your Mac’s hard drive is running low on space, the update may fail, or worse, slow down your system once it’s installed. macOS Sequoia will need a few gigabytes of storage for the installation, and keeping a buffer of extra storage ensures smooth performance after the update.
How to Check Your Storage:
- Go to the Apple menu > About This Mac > Storage. Here, you’ll see how much free space is available on your hard drive. If your system is running low on storage, it’s time to clear out some files.

Ways to Free Up Space:
- Remove Unused Applications: Go through your Applications folder and uninstall any apps you no longer use. This will free up space and help keep your system organized.
- Delete Old Files: Sort through old documents, media files, and downloads. If there are files you no longer need, consider deleting or moving them to an external storage drive.
- Clear Cache and Temporary Files: Over time, macOS accumulates cache and temporary files that can eat up significant storage space. You can manually delete these files by using tools like CleanMyMac or by navigating to ~/Library/Caches/ and removing the contents.
- Move Large Files to External Storage: If you have large video files, design projects, or other heavy media, consider moving them to an external hard drive or a cloud-based storage solution.
4. Update Your Apps and Drivers
Before updating to macOS Sequoia, ensure that all your applications and drivers are compatible with the new operating system. Incompatibilities can cause crashes, instability, and loss of productivity.
How to Update Applications:
- Check the App Store: Open the App Store and go to the Updates tab. Update all the apps that have pending updates to ensure they are optimized for macOS Sequoia.
- Update Non-App Store Apps: If you have software that you downloaded outside of the App Store, visit the developer’s website to check for updates or patches that ensure compatibility with Sequoia.
- Check for Driver Updates: Devices like printers, scanners, graphics cards, and external hard drives may require driver updates to function properly on macOS Sequoia. Visit the manufacturer’s website to download the latest drivers.
Incompatible Software Risks:
If your essential applications don’t have a Sequoia-compatible update available, consider delaying your OS upgrade until the developer releases a patch. Running outdated software on a new OS can lead to crashes, lost data, or even corrupted files.
5. Prepare for Downtime
macOS updates can take anywhere from 30 minutes to several hours, depending on the speed of your internet connection, the age of your Mac, and the size of the update. During this time, your computer will be unavailable, and you won’t be able to access your files or applications.
How to Prepare for Downtime:
- Schedule the Update: Plan your update for a time when you don’t need your Mac for work or other tasks. Avoid running the update during busy work hours or when you have important deadlines.
- Make Sure You Have Power: macOS updates require a stable power source. If your Mac is a laptop, plug it in to avoid the risk of battery depletion during the update, which could corrupt the installation.
- Ensure Internet Connectivity: Some updates may require an active internet connection for verification or additional downloads. Make sure your Wi-Fi connection is stable or connect directly to the internet via Ethernet for a faster and more reliable update process.
6. Disable or Uninstall Anti-Virus and Security Software
Anti-virus and security software can sometimes interfere with macOS updates by blocking crucial system changes or identifying update files as false positives. To ensure a smooth update process, it’s a good idea to temporarily disable or uninstall these programs before proceeding with the upgrade.
How to Disable Anti-Virus Software:
- Most anti-virus applications will have an option to temporarily disable protection. Open your anti-virus software, look for a setting or switch that allows you to disable real-time protection, and apply it until the update is complete.
- Once the update has been successfully installed, you can re-enable the security software or reinstall it if you chose to uninstall it.
Built-in macOS Security:
macOS already includes built-in security features such as XProtect, Gatekeeper, and System Integrity Protection (SIP). These work seamlessly with the operating system to keep your Mac secure without the need for third-party software. After updating to macOS Sequoia, you can rely on these features while re-evaluating your need for third-party security solutions.
Bonus Tip: Keep a Bootable macOS Installer Handy
If something goes wrong during the update process, having a bootable installer of macOS Sequoia can be a lifesaver. This allows you to reinstall macOS Sequoia from scratch if necessary, without relying on an internet connection or recovery mode.
How to Create a Bootable Installer:
- Download the macOS Sequoia installer from the App Store but don’t run it.
- Connect a USB drive with at least 16 GB of storage to your Mac.
- Open Terminal and run the following command:
sudo /Applications/Install\ macOS\ Sequoia.app/Contents/Resources/createinstallmedia --volume /Volumes/YourUSBDrive - Follow the on-screen prompts to create the bootable installer.
With a bootable installer, you can rest easy knowing that you have a fallback option if the update doesn’t go smoothly.
Final Thoughts
Updating to macOS Sequoia can be an exciting process, but taking the time to prepare your system before the update is critical to avoiding potential problems. From backing up your data to ensuring application compatibility and freeing up storage space, following these six essential steps will ensure a smoother, more reliable upgrade experience.
By taking the time to prepare properly, you can enjoy all the benefits of macOS Sequoia without the hassle of unexpected issues.
![How to Initialize Hard Drive | Disk Unknown Not Initialized Unallocated [FIX]](https://techeasyreview.com/wp-content/uploads/2024/10/maxresdefault-1-150x150.jpg)