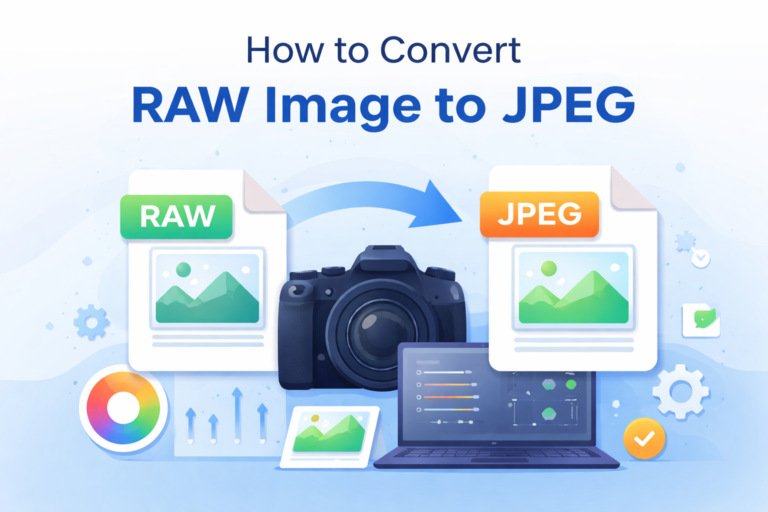
I had a set of photos shot on a DSLR. Looked great on my camera. Looked fine on my laptop. Then I tried uploading them to a website form and… nothing. Unsupported format. Same thing when I tried sharing them on WhatsApp and emailing them to a client. The files were RAW. Big, heavy, and unreadable outside editing software.
At that point, converting a RAW image to JPEG wasn’t optional. It was the only way those photos could leave my system.
What didn’t work at first (and why)
My first attempt was lazy. I tried opening the RAW file and hitting “Save As” in whatever app opened it. On one system, it didn’t even open. On another, it saved a JPEG that looked flat and washed out.
That’s when I realized something guides don’t emphasize enough:
RAW files don’t contain a “final image.” They contain data. The moment you convert RAW image to JPEG, you’re deciding how that data gets interpreted.
Ignore that step, and the result looks bad.
The exact steps I followed (only what mattered)
I’ll break this into what actually worked, not every possible method.
Method 1: Using a photo editor (most reliable)
This is what I settled on after trial and error.
- Open the RAW file in a proper editor (Lightroom, Photoshop, or even Apple Photos on macOS).
- Let the software fully load the RAW profile. This matters. If it doesn’t, colors will be off.
- Make minimal adjustments only:
- Fix exposure if needed
- Correct white balance
- Do not over-sharpen
- Export, not Save As.
- Choose JPEG format.
- Set quality between 80–90%. Anything above that just inflates file size.
Why this works:
The software understands how to interpret sensor data. You’re converting RAW image to JPEG with intent, not guessing.
Where this can fail:
If you export before the RAW preview fully loads, you’ll get a dull-looking JPEG. I’ve done this. The fix is simple. Wait.
Method 2: Using built-in system tools (works, with limits)
I tried this when I didn’t want to install anything.
- On macOS: Preview can open some RAW files.
- On Windows: Photos app supports limited RAW formats.
Steps were simple:
- Open RAW file
- Export or Save as JPEG
Here’s the catch:
No control. White balance and exposure are auto-decided. Fine for quick sharing. Bad if image quality matters.
Use this only if speed matters more than accuracy.
A mistake I made that most guides don’t warn you about
I batch converted a folder of RAW files straight to JPEG without checking color profiles.
Half the images looked warmer. Some lost shadow detail.
Why?
Different cameras embed different color data. Batch converting RAW image to JPEG without previewing a few samples is risky.
Workaround:
- Convert 2–3 images first
- Check them on your phone and another screen
- Then batch export
That extra five minutes saves regret.
Common mistakes and how to avoid them
Mistake 1: Using 100% JPEG quality
It doesn’t mean “best.” It means “huge file.” You won’t see a visual difference above 90%.
Mistake 2: Deleting RAW files immediately
JPEG is final. RAW is flexible. Keep RAW files until you’re sure the JPEGs are usable.
Mistake 3: Assuming all RAW files behave the same
A Canon RAW and a Sony RAW don’t convert identically. Software profiles matter.
What to do if results aren’t as expected
If the JPEG looks flat:
- Adjust white balance manually
- Increase contrast slightly before export
If the JPEG looks noisy:
- RAW files show noise differently
- Apply mild noise reduction before conversion
If colors look wrong on other devices:
- Export in sRGB color space
- This is critical for web and mobile sharing
This single setting fixed most “why does it look different on my phone?” moments for me.
One Limitation you should know
You cannot “improve” image quality when you convert RAW image to JPEG. You’re compressing and finalizing it.
What you can do is avoid destroying quality unnecessarily. That’s the real goal.
Final opinion (Learned the hard way)
RAW files are for working. JPEGs are for sharing.
Once I stopped treating conversion as a mechanical step and started treating it as a decision-making step, my results improved immediately.
If someone asked me how to convert RAW image to JPEG today, I wouldn’t give them steps first. I’d tell them this:
slow down for one minute, preview the image properly, then export with intention.
That’s the difference between “it works” and “it looks right.”