
Introduction
Resetting your MacBook to factory settings can be a great way to fix software problems, improve performance, or get it ready to sell or pass on to someone else. However, it’s important to approach this process carefully because a factory reset erases all data on your device. Without proper preparation, you could accidentally lose important files, like cherished photos, critical work documents, or other personal data. Fortunately, with the right precautions, you can safeguard your files and ensure a smooth reset process.

Whether you’re troubleshooting problems or simply starting fresh, following these essential steps will help protect what matters most while ensuring your MacBook is restored to its original state
Understanding How Factory Resetting Erases Data on Your MacBook
A factory reset on macOS erases all data on your MacBook’s internal storage and reinstalls or restores macOS from a recovery partition, returning the system to its original state. During this process, all your personal data, custom settings, and installed applications are permanently deleted. This is intentional, as the goal of a factory reset is to eliminate any existing issues, such as software glitches, or to prepare the device for resale by ensuring your privacy is protected. However, it’s important to understand that this also means all your personal files—documents, photos, and other stored data—are completely erased and cannot be recovered unless you’ve backed them up beforehand.
This makes factory resetting a powerful but double-edged tool: it’s perfect for troubleshooting or ensuring security, but it requires careful preparation to avoid losing important information.
Essential Steps to Safeguard Your Personal Files on macOS Before a Factory Reset
When you’re preparing to reset your Mac, whether for troubleshooting, selling, or upgrading, it’s crucial to protect your personal files. Below are the steps you can take to ensure that your data stays safe, organized, and accessible:
1. Back Up Your Files
Backing up your data is the first and most important step to protect your files. macOS offers several built-in methods to ensure your files are safely backed up:
- Time Machine: Time Machine is Apple’s built-in backup tool. It allows you to create incremental backups of your Mac’s important files and system state to an external drive, including system files, applications, user data (photos, documents, etc.), and more. This enables you to restore your Mac to a previous point in time if necessary.
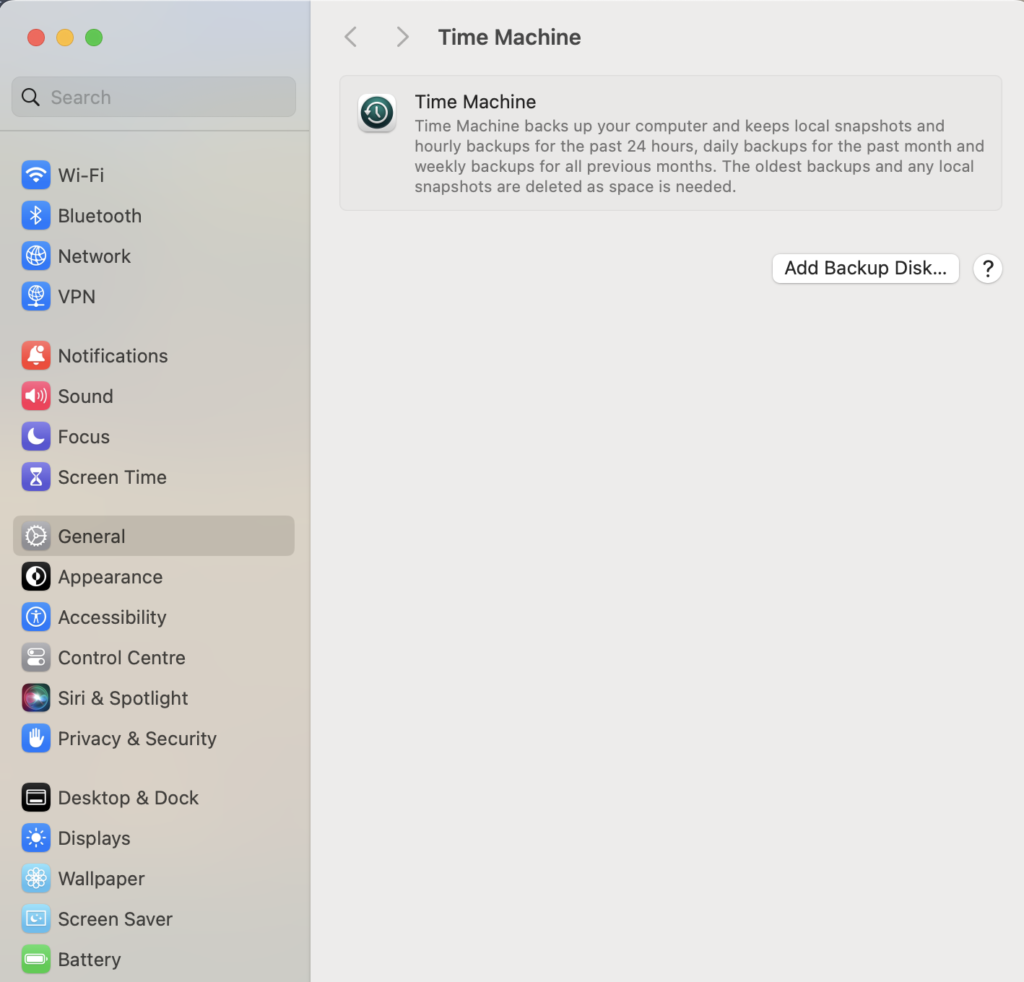
To use Time Machine:
- Connect an external drive to your Mac.
- Go to System Preferences > Time Machine and follow the on-screen instructions to select the external drive as your backup destination. Time Machine will automatically create backups every hour.
- iCloud: iCloud is a cloud storage service from Apple that syncs your files across all Apple devices. For more convenience, it’s a great idea to back up important files like documents, photos, and videos to iCloud.
To do this:
- Go to System Preferences > Apple ID > iCloud.
- Ensure that all the data you want to back up, such as Photos, iCloud Drive, Contacts, and Calendar, is selected.
- Manual Backup: If you want more control over what gets backed up, consider manually transferring important files to an external drive or using cloud services like Google Drive, Dropbox, or OneDrive. Simply drag and drop the files into your preferred storage location.
2. Export Important Data
Certain types of data require extra attention. These include emails, bookmarks, and passwords, which can sometimes be overlooked but are vital to back up.
- Emails: If you use the Mail app, it’s important to export important emails or mail folders. You can do this by selecting the messages you want to keep and saving them as files or exporting them using the Mail app’s export option.
- Safari Bookmarks: If you use Safari as your browser, it’s likely that you have a collection of valuable bookmarks. Export them by going to File > Export Bookmarks in Safari. This ensures you can easily import them back after a reset.
- Passwords: Passwords stored in Safari’s iCloud Keychain or third-party password managers should be properly backed up. Make sure your password manager is synced to the cloud or export your keychain data if needed.
3. Deauthorize Accounts and Devices
Before resetting your Mac, it’s essential to deauthorize your device from all accounts to prevent any issues in the future.
- Apple ID: Signing out of your Apple ID will ensure that no one else can access your iCloud data or other Apple services, like iMessage and FaceTime, after the reset. To sign out:
- Go to System Preferences > Apple ID.
- Click on Sign Out to disconnect your Mac from your Apple ID.
- iTunes: If you use iTunes or the Music app for managing your media, you should deauthorize your Mac from iTunes. This ensures that the device won’t be associated with your iTunes account after the reset. To deauthorize:
- Open iTunes (or the Music app on newer macOS versions).
- Go to Account > Authorizations > Deauthorize This Computer.
4. Securely Wipe Your Data
If you’re planning to sell or give away your Mac, it’s important to wipe your data securely so no one can recover your personal information. Follow these steps to ensure your files are safely erased:
- Enter macOS Recovery Mode: Turn off your Mac, then restart it while holding down Command (⌘) + R. This will boot your Mac into macOS Recovery Mode.
- Use Disk Utility: Once in Recovery Mode, open Disk Utility. Select your Mac’s internal hard drive, then click on the Erase button.
- Choose Secure Erase Options: When erasing the drive, you’ll be given several options for security. For maximum protection, select at least the 3-pass option, which writes over your data multiple times, making it much harder to recover.
By following these simple but crucial steps, you can ensure that your data is properly backed up, exported, and securely erased, giving you peace of mind before resetting your Mac. Whether you’re troubleshooting or handing over your Mac to a new owner, these practices will keep your information safe and sound.
Double-Check Your Backup Before Factory Reset
Before resetting your MacBook, it’s crucial to ensure that all your important files are securely backed up and easy to access. Take a moment to go through a few files in your backup to confirm they’re intact. This step gives you peace of mind, knowing that nothing important will be lost in the process. Whether you’re using iCloud, an external hard drive, or a cloud storage service, make sure your backup is up-to-date and contains everything you need.
Factory Reset Your MacBook
Once you’re confident that all your important files are backed up and your accounts have been deauthorized, you’re ready to reset your MacBook. A factory reset wipes your device clean, returning it to its original state, which can help resolve issues or prepare your Mac for resale. Here’s a step-by-step guide to performing the reset:
- Restart Your Mac in Recovery Mode
Start by restarting your MacBook. As soon as it begins to boot, press and hold the Command (⌘) + R keys. This will launch your Mac into Recovery Mode, a special environment where you can fix problems and reinstall macOS. - Use Disk Utility to Erase Your Mac’s Internal Drive
Once in Recovery Mode, select Disk Utility from the available options. In Disk Utility, choose your internal hard drive (usually named “Macintosh HD” unless renamed) from the list on the left, and then click on Erase. This action will wipe all the data from your Mac’s internal drive. - Reinstall macOS
After the drive is erased, exit Disk Utility and return to the main macOS Utilities window. Select Reinstall macOS, and follow the on-screen instructions. This will reinstall the latest version of macOS, bringing your MacBook back to its factory settings. - Complete the Reset
Follow the prompts to complete the process. Once finished, your MacBook will be like new, ready to set up again, whether for personal use or for a fresh start.
How to Safely Restore Your Files After Factory Resetting Your MacBook
Once you’ve reset your system, the next step is restoring your data from a backup. Here’s how you can do that:
- Using Time Machine: If you’ve been using Time Machine for backups, connect your external hard drive where the backup is stored. Follow the on-screen prompts to restore your system, which will bring back your files, apps, and settings from the most recent backup. This is the easiest and most complete way to get your data back.
- Using iCloud: If you store your data on iCloud, simply sign in with your Apple ID after resetting your device. Make sure syncing is enabled, so your files, photos, and other important data can be automatically restored. This works well for things like documents and media that are linked to your Apple account.
- Manually Restoring Files: If you don’t use Time Machine or iCloud, you can manually transfer your files from external drives or cloud storage services like Google Drive, Dropbox, or OneDrive. This option gives you flexibility but may require a bit more organization to make sure you don’t miss anything important.
Tips to Keep Your Files Safe Moving Forward
To make sure you don’t lose important files again, here are a few strategies you can implement:
- Set Up Automatic Backups with Time Machine: Time Machine is a built-in macOS feature that automatically backs up your files. Set it up and let it run in the background, so you always have a recent backup available.
- Sync Data Regularly with iCloud or Other Cloud Storage Services: Using cloud services like iCloud, Google Drive, or Dropbox to sync your data ensures that your files are always accessible online, even if something happens to your device. Regular syncing keeps your most important documents safe and easily retrievable.
- Use a Reliable External Drive for Offline Backups: For an extra layer of security, use a high-quality external hard drive to back up your files. This is especially important if you work with large files or have a lot of data that needs to be stored offline.
- Protect Sensitive Files with Encryption: For your most sensitive files, consider using encryption tools like macOS’s built-in FileVault feature. This adds an extra layer of security to your data, ensuring that even if someone gains access to your drive, your personal information stays protected.
Learn More: How to Factory Reset Windows & Mac Laptop Without a Password Easily
Final Thoughts
The first and most important step is backing up your files. Before you wipe your device, ensure that all your important documents, photos, and apps are safely stored. You can use Time Machine for a complete backup or manually transfer files to an external drive or cloud storage. This guarantees that you won’t lose any essential data in the process.